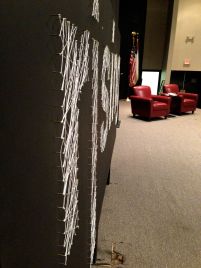
A few months ago, I took on a project for my church. I had recently seen a lot of the string art done on a large scale at a few different conferences and events, and I wanted to try my own version. Our church relaunches a new vision every year, and with it, some sort of big visual representation of it. So, I had a good opportunity to try out a string art project. Luckily, my idea went over well with those who approve such things :), and I got to work.
This year’s vision is “rising.” My husband is in charge of marketing and media at our church, and he likes things simple. His graphic for “rising” was just the word in a cool, crisp font with a long first “i.” We wanted just the word as our project. I chose to fill in the letters (versus fill in the space around the letters, which I’ve seen done and is pretty darn cool) so that the word would kind of look like it was popping out of the wall. Or something like that.
At first, I thought I would take on the project blindly because I was pretty certain that I could figure it out. Then, I changed my mind and decided I would try to look up some helpful tips. However, I really didn’t find much guidance for a string art project in size large. So, I did end up figuring it out on my own. And now I’m going to share what I learned.
Supplies
-3 4 ft. wide by 4.5 ft. tall sheets of 1 in. thick plywood & some extra boards (1 in. by 4 in.) for bracing
-paint & painting supplies (roller, tray, & drop cloth)
-overhead projector
-transparency sheet
-pencil
-yardstick, ruler
-hammer
-nails (I used 1 3/8 in. nails; I liked the length of the nails with the thickness of my plywood, but if I were doing it again, I would find nails with slightly bigger heads to make wrapping the string around them a little easier)
-string (I used twisted mason line)
-something to prop project board on (this may not be necessary for everyone, but I wanted to make sure I didn’t accidentally drive a nail all the way through the plywood and into the floor)
Steps
(Side note: Please forgive the not so professional quality of most of these pictures. I want to learn so bad to do better, but that hasn’t happened quite yet. But it will. It will!)
1. Get your husband to join the plywood sheets together. He did this by bracing them with other boards (1 in. by 4 in.) and screwing them in place.
2. Paint the big ol’ piece(s) of plywood your color of choice. Mine was black. The same color of the wall that the piece went on.
3. Print your graphic on a transparency; use overhead projector to enlarge your graphic to desired size. (Note: Getting the graphic level and centered both vertically and horizontally was by far the hardest part of this whole process. Patience, people!)
3. Carefully trace the projection of your graphic onto the plywood with a pencil. A little advice here would be to not use a heavy hand. I thought I might erase the pencil outline somewhere in the process…I actually didn’t do this because the placement of the piece was far away from critical eyes and it really wasn’t very noticeable once the project was complete…however, by drawing lightly with the pencil, I had this option.
4. Mark the placement of your nails. There was no way to have every nail perfectly spaced due to varying lengths of letter lines and curves, but I like how it turned out to have some sort of order with the nail placement in this project (I say that because I think some string art pieces look good with the nails “haphazardly” placed) . To achieve this, I chose a standard measurement (1.5 in.) to strive for and varied as symmetrically as possible where necessary. Having a ruler AND yard stick made all the measurements easier…obviously.
5. Start driving those nails in. Having all the places where I wanted my nails marked made this step so easy. Before I started, I was a little worried about how far to hammer the nails in. But after I got going, I seemed to naturally find a good depth and simply tried to hammer each nail in approximately at that depth. This was the most fun part!
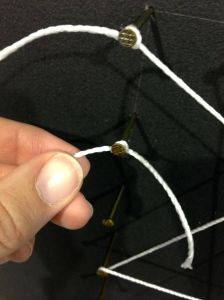
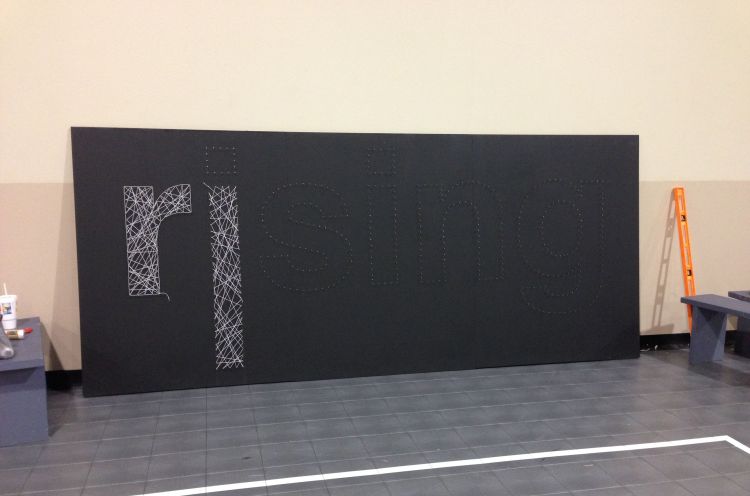
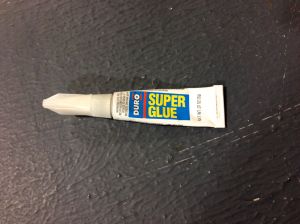
6. Start wrapping the string around the nails. To initially tie the string onto the nail, I found it easier to make a loose knot, put it over the nail, then tighten it. I would then wrap the string around the nail again, then proceed to the next nail and wrap the string around it, and so on. I chose to use a random pattern, which was fun and probably less complicated than trying to make a more precise pattern. I doubled up on some nails and even wrapped the string around more than once in some places. For the most part, I wrapped around the nails in the same direction (right vs. left), but I changed that up some too where it looked like it was needed. To tie off the string when I was finished with a letter, I would make two knots. Then, I put superglue on the knot and string surrounding it just to make sure it stayed. When I was finished with the whole thing, I went back and cut the excess string off of all my starting and ending points (where I had put the superglue).
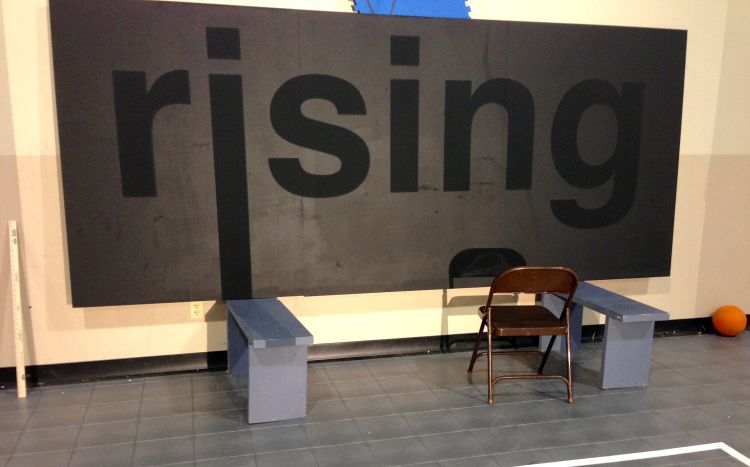
Here’s a picture of the final thing in the church. I was pleased with how it turned out.
It also didn’t look too shabby on the live webcast…I honestly would’ve preferred not to know that, but the evil stomach bug decided to attack me the night before our big launch service. So, I observed from afar.

This picture is courtesy of my Instagram; follow me – @kalenalangford


